How to Set Default Transitions in Premiere Pro
Setting default transitions and transition lengths will save you so much time in your video editing workflow! Watch the video to see how to do this, or keep reading below.

Today we’re going to set a default transition length in Adobe Premiere Pro. Keep in mind this will apply across all of our projects, but it’s easy to change in the future if a different project has a different need.
You can see I have two clips here, and let’s pretend I want to add a cross dissolve transition between those two. If I have a lot of clips I’m adding transitions to, setting a default transition will help save time because you won’t need to jump in and adjust them every single time to match your needs.
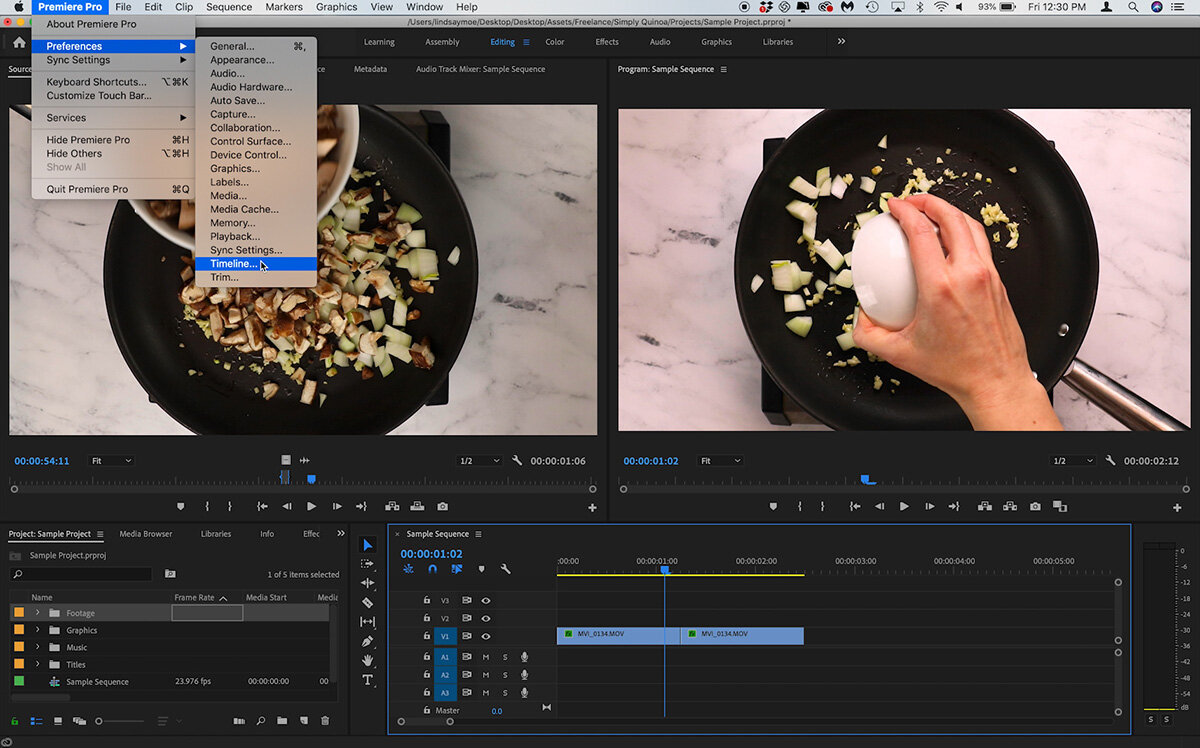
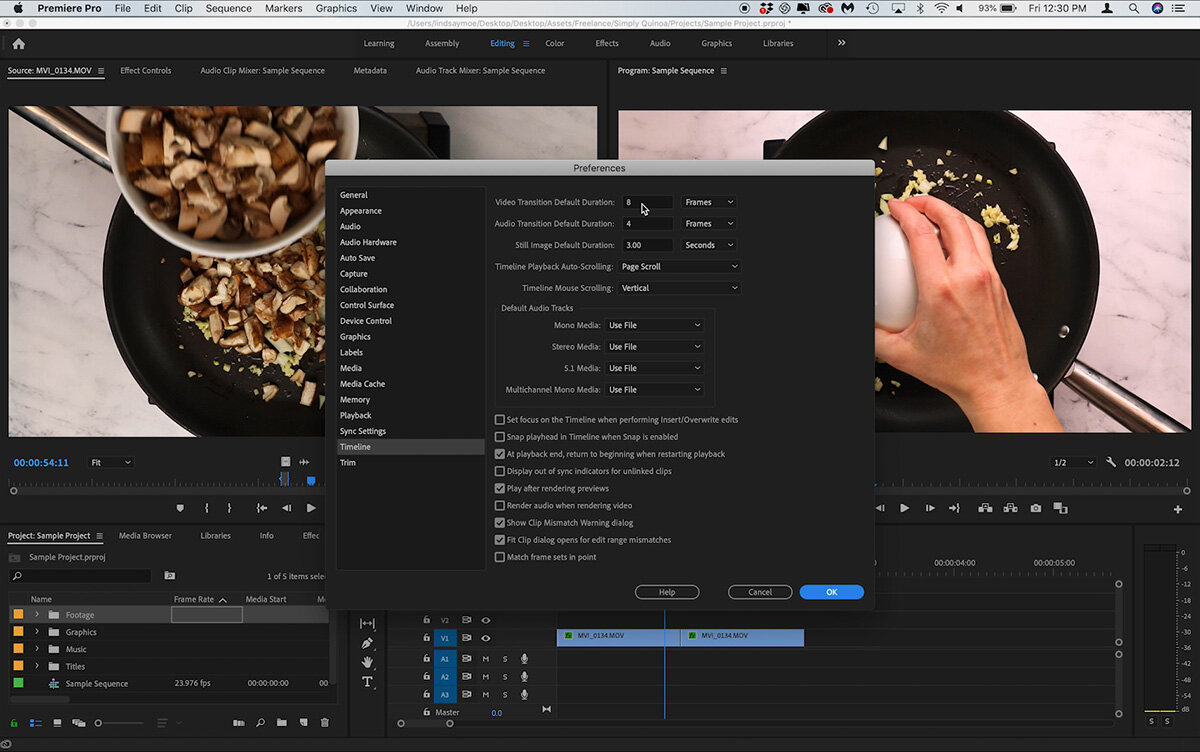
To set our default transition length I’m going to go up to Premiere Pro —> Preferences —> Timeline. At the top of this window you can see I have the default transition length set to 8 frames. We’re going to change it to 4 and hit Ok.
I will frequently use 4, 8, or 12 as transition lengths for recipe videos, I’m not sure why that comes out so evenly but they just seem to work best for me.

There are two ways we can add the transition to our timeline. If we go over to the project panel and press SHIFT + 7, it will jump us to our effects panel.

You can see the blue box around Cross Dissolve, that means it is set as our default transition. If we wanted the default to be Dip to Black, we could CONTROL + CLICK on that one and set it as the default. We’re going to leave ours as Cross Dissolve.

You can drag the Cross Dissolve over between the two clips and see it’s set at 4 frames, which is what we set the default length to. If you want to adjust it you can grab the little handles on either side and pull it in or out, or CONTROL + CLICK and set it to whatever number you need.

The other option is to click in between the two clips and press COMMAND + D to set the transition.

This is really easy to do and I think it will save you a ton of time when editing your recipe videos. Be sure to let me know if you have any questions or if you give this a try!
