How to Create Titles in Premiere Pro (Two Ways)
It’s important to know these two ways to create titles in Adobe Premiere Pro so you can make the most efficient choice for your workflow in editing recipe videos. Watch the video below or keep reading to learn how.

Today we’re going to be using both the legacy title tool and the Essential Graphics panel to create titles in Premiere Pro. They both have pros and cons when it comes to editing recipe videos. I have one I prefer over the other, but you might prefer the other one. It’s really up to you and what makes your workflow faster and easier for you.
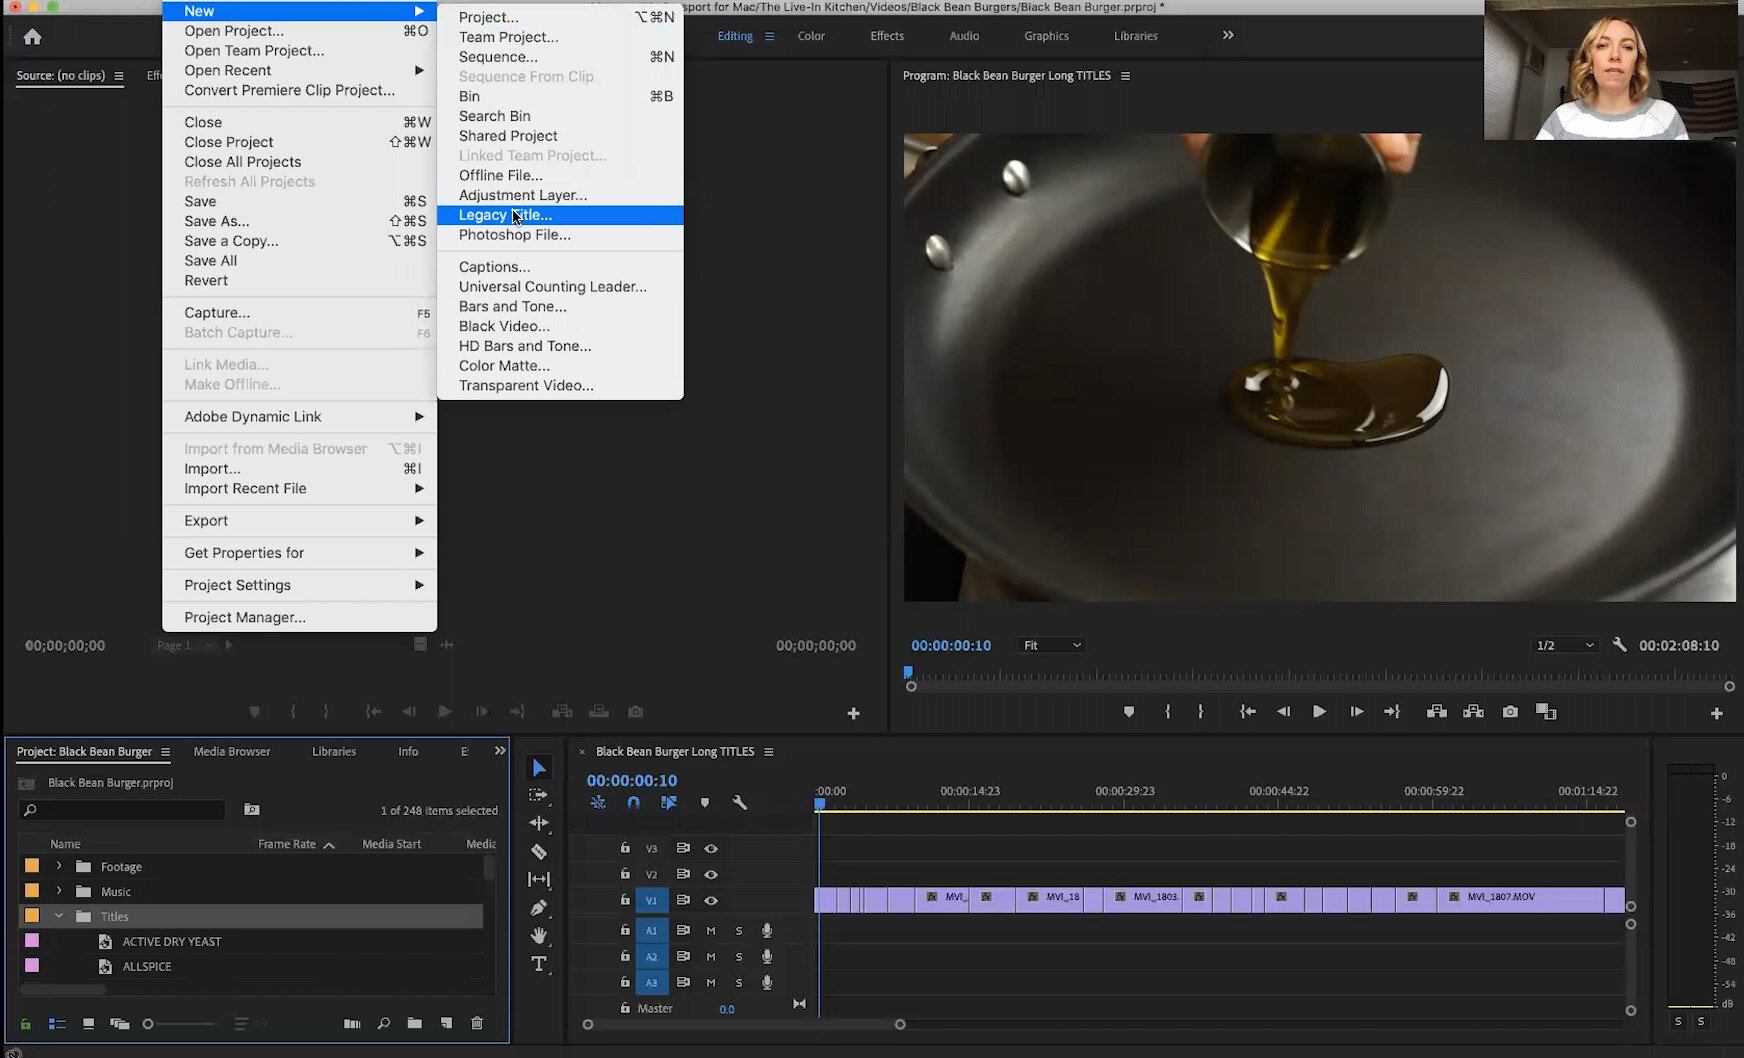
The first way to create titles is my personal favorite, which is Legacy Titles. I have a bin here called Titles, and you can see I’ve set up a template with all of my most commonly used ingredients. This helps save time, and I can show you how to set that up in a future post, but if I want to create a new one I’m going to choose File —> New —> Legacy Title.
We’re working on a recipe for black bean burgers and it starts with olive oil, so I’m going to call this title Olive Oil. You can see I already had olive oil in my template, but for the sake of showing you this we’ll create a new one.
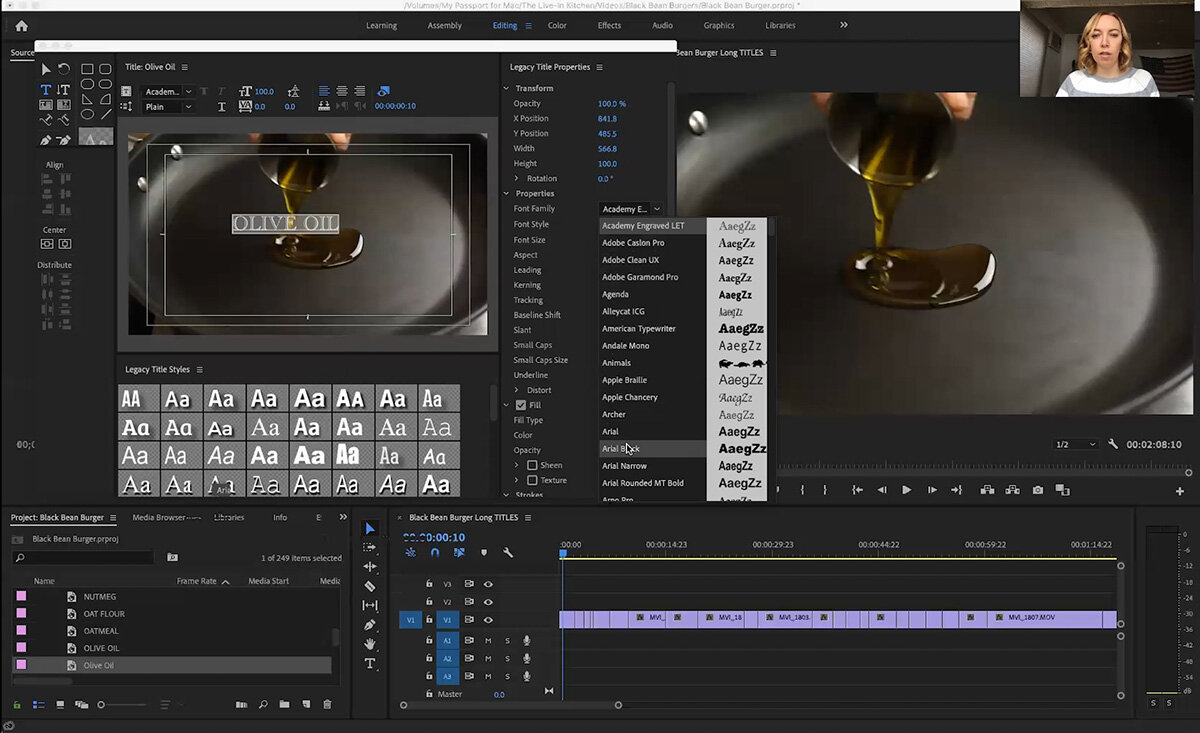
You’ll likely need to adjust this window to see what you’re doing, but you want to make sure you’re on the Type tool. You can choose from one of the legacy titles on the bottom or create your own to save you time.
Click on the video and add your title. Highlight it and choose an easy to read font, such as Ariel Black Regular 120 points. You can come over on the left and center your title.
If this is the style of title I want to use on all the titles in the video, you can find the little hamburger tool and choose New Style to save it with a name you’ll remember. You can reposition the saved title to the top if you’d like.
In the video I forgot to change the color before saving my legacy title. Be sure to have it exactly how you want it before saving or it won’t show up in all your titles.

Then I’m going to find the title in my project panel and drag it over to the timeline. You can then adjust it to whatever length you want it to be.

The thing about legacy titles is that if you have olive oil used later in your recipe as well, you can drag it into the timeline again. However if you want this one to be a different size or color, you can’t just click and change it. Any changes you make to the legacy title will appear anywhere you use that title.
What I like about legacy titles is if you are creating sequences for multiple platforms such as IGTV, the legacy title will stay the same. It will be the same size, it won’t change at all when you change the sequence setting.
This is different from the other option, which is the Essentials Graphics panel. On the top, click on Graphics and you can find your type tool. The title we want is Onions, so I’ll type that in, then look on the right to make sure I’m in “edit” in order to make changes.

The main things we’re going to do are change the font, I chose Adobe Clean at 120 points, made it white, and you can give it a shadow if you need.
The thing about Essential Graphics is you can highlight it in your timeline, copy (Command + C), lock V1 (the first video layer), and paste it into V2. Then you’ll click on the title and change it however needed while keeping the same style.

That’s a pretty fast way to add titles is by copying and pasting as many as you need and changing the text. The thing about Essential Graphics is if you’re changing the size of your sequence, it will change the size of your graphics as well.

If we duplicate our sequence and change the sequence size to 1080x1080, you’ll see the titles are appearing smaller now. If we wanted them to look how they did in the 16:9 we would have to go in and change the size on each of them.

It’s up to you which works better for you. I definitely think when working with recipe videos where you’re creating a lot of different versions the legacy title is the way to go and setting up a template with your most commonly used ingredients or at the very least saving a style in the legacy title tool will help you save time.
I would love to know which title tool you prefer to use in your videos. This is all part of a series building up to helping you create the most efficient workflow possible for editing your videos so it moves faster for you, feels easier, and you can get on with the other hundreds of tasks you need to do as a food blogger.
Let me know if you have any questions, or head over to the Facebook Group to start a conversation there!