How to Fix Overexposed iPhone Footage in Premiere Pro (3 ways!)
Learn how to fix iPhone videos that appear overexposed and oversaturated after exporting from Premiere Pro. We’ll show you three easy ways to fix this problem, and each takes less than one minute! Watch the video below or keep reading to learn how.
If you’ve been shooting video on your iPhone for a while, you may have noticed that your videos look overexposed and oversaturated after editing them in Premiere. This is a problem that popped up with the iPhone 12 and beyond, and can be seen in Adobe Premiere Pro 2022 and later.
Why does my iPhone video look overexposed in Premiere Pro?
The reason your iPhone footage looks overexposed and oversaturated in Premiere Pro is because of HDR video. This stands for “High Dynamic Range”, and its the reason your phone can take great photos and videos even in dark
Apple started implementing HDR video in the iPhone 12 and later, which is the cause for this incompatibility. Hopefully Premiere will catch up and offer the technology needed to handle this type of file, but for now I have three easy solutions for getting your footage back to the way you intended it to be.
How to fix overexposed iPhone video in Premiere Pro
Turn off HDR video
The simplest solution here is to turn off your phone’s ability to capture HDR video. You can do this by going into Settings -> Camera -> Record Video -> and then scroll down and turn off the toggle for HDR video.
The specific steps to do this may be different on later versions of the iPhone. When you turn off HDR, it will record in a Rec 709 colorspace, which we’ll get into more in a minute. This may also be different on newer versions of the iPhone.
Use an older version of Premiere
It’s not just Apple that’s causing this problem, it’s the combination of that with Premiere. Your second option is to edit your project in an older version of Premiere Pro (2021 or earlier).
You can simply open your project in the older version if you still have it on your computer, or you can re-download from the Creative Cloud app on your computer.
Modify how Premiere interprets the footage
The final option is to modify how Premiere interprets the footage from your iPhone. This is your best option if you’ve already recorded the video and still want it to look normal. It is also my go-to workflow because it doesn’t require that I turn off all HDR video on my phone, I can still use all the newest features of Premiere, and it results in a better looking final product.
To do this, right click or control click on your clip in the project window. Go down to Modify -> Interpret Footage.
At the bottom of the box that pops up you’ll choose Color Space Override -> Rec. 2020. This will tell Premiere to use a color space that it can better understand.
You may notice that Rec. 709 is an option. You could also choose this one if you’d like, but Rec. 2020 will give you a more dynamic range of colors to work with. This is why I choose to interpret the footage after recording rather than recording in Rec. 709 to begin with.
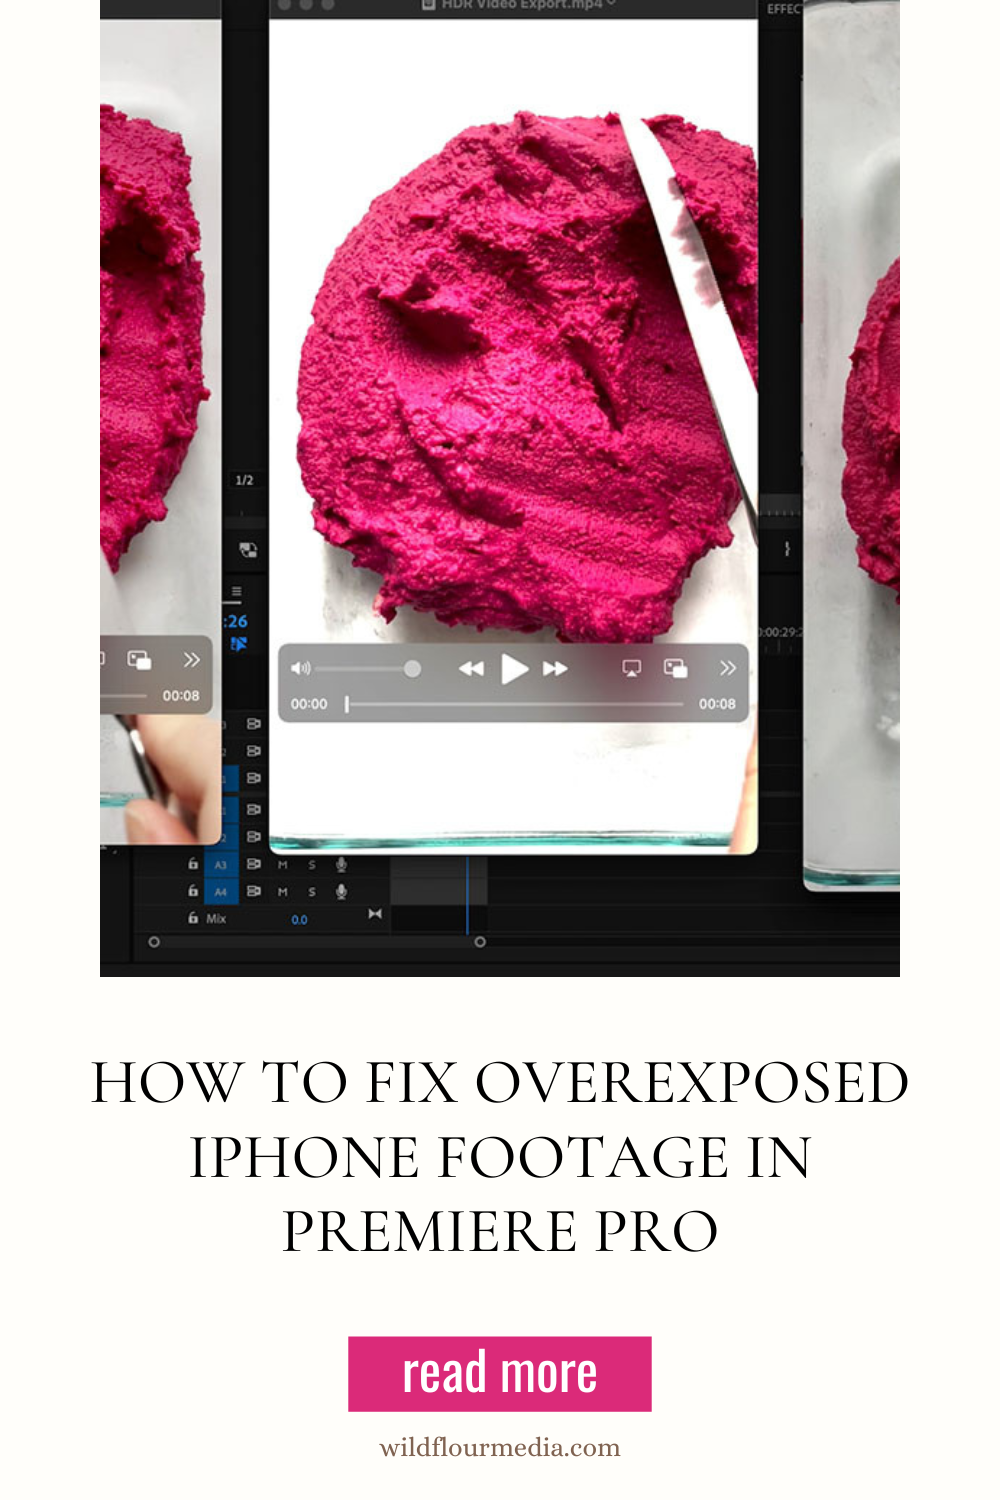
In the photo above you can see the three different color spaces after being exported from Premiere Pro. From left to right we have the footage modified to the Rec 2020 color space, the original iPhone footage (Rec 2100 HLG), and the footage with HDR video turned off (Rec 709).
These are all raw images, and could benefit from some color and exposure adjustments, but it gives you a good idea of what you’re getting with each color space.
Do I need to understand color space?
If this is all sounding like a foreign language to you, don’t worry. You don’t need to have extensive knowledge in color space or what these terms mean to fix your footage. Simply follow the tutorials laid out above and you’ll be back to editing in no time.
I hope this helps you fix your overexposed iPhone footage in Adobe Premiere Pro. Let me know if you have any questions, or head over to the Facebook Group to start a conversation and share your work there.


