How to Adjust a Single Color in Premiere Pro
Learn how to adjust a single color in Adobe Premiere Pro and make sure your colors are represented just how you want in every video! Watch the video below or keep reading to learn how.
Have you ever wondered how to adjust just one color in your videos?
Maybe you’ve already set your white balance and adjusted all your colors, but there’s just one color that’s not quite right. Today I’m going to show you how to easily adjust a single color in Adobe Premiere Pro without adjusting the other colors in your video.
When to change a single color in your video
This has so many different uses. Maybe you’re using two different camera angles that don’t match, or in the example I’m going to show you I have an egg and I want the yolk to look much more rich and orange rather than pale and yellow. It looks so much more appetizing once it’s done!
I grabbed this clip of an egg frying in a pan off a site called Pexels, which offers free stock photography and videography for download. I thought it would make a great example because you can see the yolk looks a little pale and white. I want it to look more orange, like a farm fresh egg, because I think that would be more appetizing to my viewers.
How to change a single color in Premiere Pro
Adding an adjustment layer
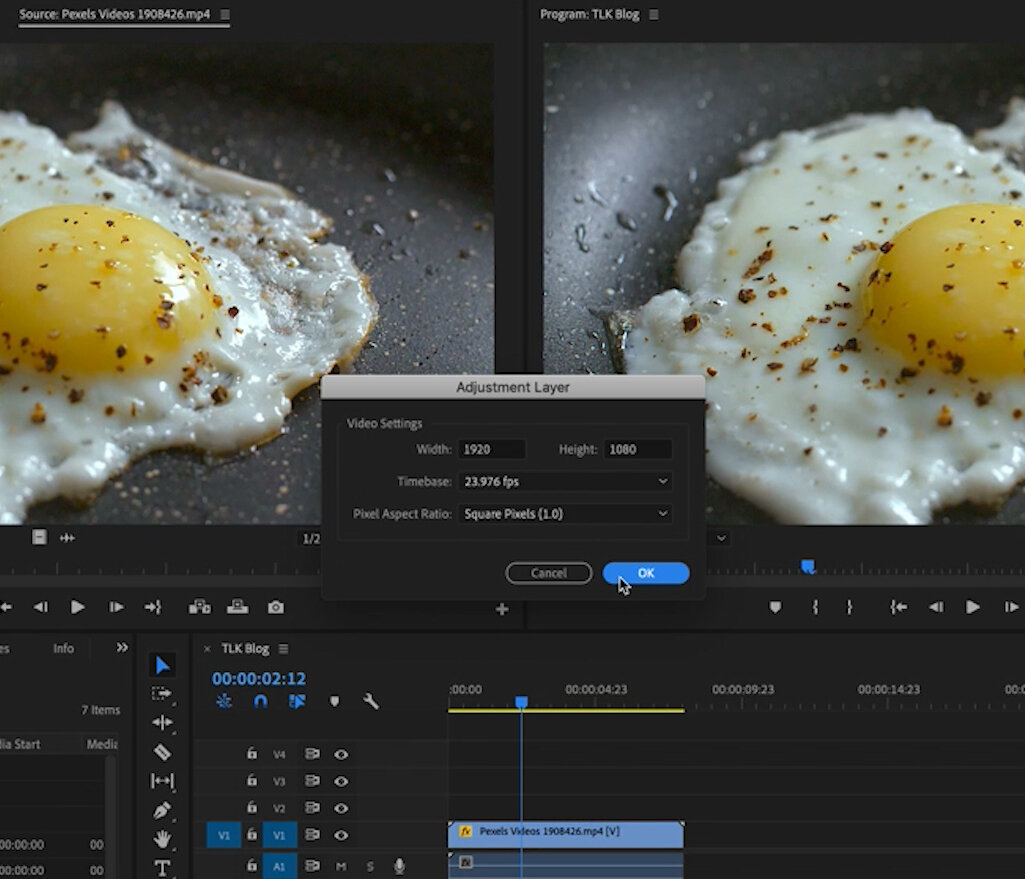
If you have a lot of clips you want to adjust, I would recommend adding an adjustment layer before starting. You can do this by heading over to the Project panel and choosing New Item —> Adjustment Layer.
You can drag that onto the video track above the clips you’re editing and it will apply to whatever clips it appears over. It’s an easy way to make broad adjustments to multiple clips without needing to do so individually on each one.
Since we’re just working with one clip I’m going to show you how to make those adjustments right to the clip.
Working in the HSL Secondary Panel
Click on the clip and head over to the Color Panel. Here we’re going to open up the HSL Secondary panel.
Grab the farthest left eyedropper tool and click on the color in the Program Monitor that you want to adjust. Back over in the HSL Secondary menu, click on the checkbox that says Color/Gray.
This will show you the color you have selected against a gray background. You can also choose to have it show against a black background or as white against a black background. Personally, I prefer the color against black.
You can see the eyedropper didn’t grab all of the yolk. Adjust the sliders until you have most of the color that you want included. You can also use the eyedropper+ tool to grab more colors in the image.
To deselect a specific color, use the eyedropper- tool.
You can give this selection some denoise and blur by using the sliders or values given. I recommend being conservative with these to avoid distortion.
Below there, we’re ready to go into correction. You can choose between a single color wheel or adjust the shadows, midtones, and highlights separately.
For this example I’m going to adjust using the single color wheel. I want my yolk to be more orange, so I’m going to grab the crosshair and move it up into the oranges.
Uncheck the box that set it to color against black to see the entire image again and see how it looks. I can see in my yolk that I’ve missed a few spots, so I’m going to go back in with the eyedropper+ tool to include those.
To cycle between the before and after with your adjustment, uncheck the box next to HSL Secondary.
You could also adjust your color using the temperature and tint sliders below the color wheel. It’s all about finding the right balance and doing what’s best for your individual needs.
I hope this helps you when you’re editing recipe videos to get your color correction just right by editing individual colors.
Let me know if you have any questions, or head over to the Facebook Group to start a conversation there!


