How to Adjust Audio Levels
Learn how to adjust audio levels for recipe videos in Adobe Premiere Pro. Watch the video or keep reading to learn how.

Audio might feel like an afterthought in a recipe video, but whether you’re creating a hosted style cooking show or a hands and pans video that just has music, it’s important to be thoughtful in how your audio comes across to your user. Today I’m going to share my four tips for adjusting audio in your recipe videos.
The first thing we’re going to look at is down in the bottom right hand corner. Here you can see where your audio peaks out.

I like to keep it around -6. I find for most recipe videos viewers are either listening with the sound turned off or if they have it on it might be on accident. A lot of us are just using music in our recipe videos, so we don’t need it super loud and we don’t want to hit people in the face with it if they’re listening on accident.
When I play through the loudest part of this music it peaks out in the red, so I’m going to go into the audio panel to adjust it.
Adjusting audio levels in the Audio Panel

This track is the only thing on A2. It’s important to take note of this because how we adjust the levels will affect everything on that track.
If you have other audio that you don’t want affected, be sure to put it in a different audio track.
I’m going to grab the A2 slider and bring it down until the audio no longer peaks in the red, close to -6.
Adding constant power
The second thing I’m going to show you is at the end of my videos.
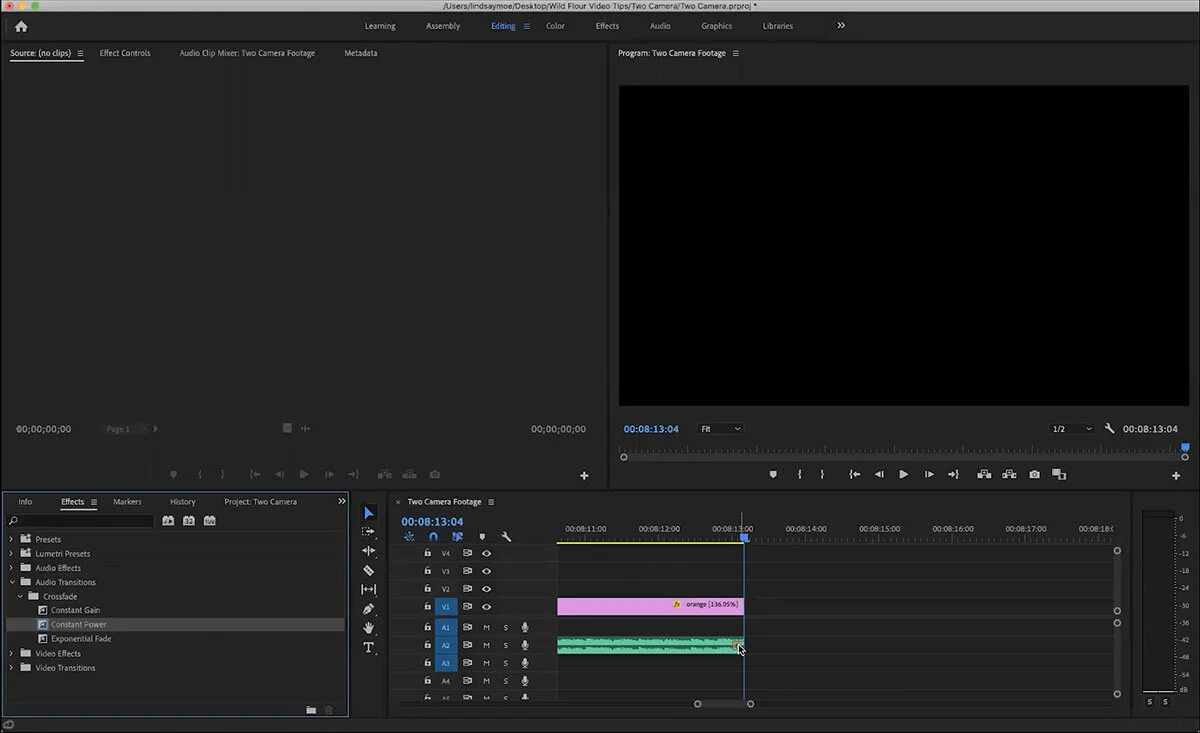
I like to add Constant Power, which can be found in the effects panel under Audio Transitions —> Crossfade.
I just drag it over and drop it on the end of the audio clip. If you double click on that transition you can change how many frames it lasts.
This just eases the music out a little bit so you don’t get an abrupt stop with a little audio pop at the end.
Using keyframes to control audio levels
The other thing you can do is click between the tracks and drag down to expand them so you can see the white line running throughout the clip.
If I press COMMAND and CLICK on this white line, it adds a keyframe.
What that does is lets me grab a keyframe and drag it up or down to adjust the audio level. This is another way to ease out your audio at the end of your video.
This is also good to know if you’re speaking and want to lower the level of music playing underneath the voice over.
You can add as many keyframes as you might need, and to delete them just click on them and press delete.
This gives you a lot of control over the level of your audio.
How to eliminate ambient noise in audio
The final thing I’m going to show you today is how to handle ambient noise in your videos. This would primarily be if you’re shooting hosted style cooking videos where you’re talking directly to the camera.

To eliminate ambient noise, we’re going to go into the effects panel and search for DENOISE.
Grab that, drag it onto the clip where you’re talking, and then go over to the effects controls to adjust the individual parameters.
I find it sounds a little muffled on the default, so I like to pull the amount down a bit. You’re trying to find a balance between removing the ambient noise and muffling your voice too much.
If adding the denoise effect lowers your audio level, you can add a little make up gain to bring it back up.
I hope you’ll try these tips for improving the audio in your recipe videos! Audio is so important but easily overlooked, and I think this will help set you on the right path.
Let me know if you have any questions, or head over to the Facebook Group to start a conversation there!