How to Color Correct Footage
Learn how to color correct recipe video footage in Adobe Premiere Pro so your food will look fresh and delicious without taking you too much time. Watch the video below or keep reading to learn how.
This post contains affiliate links. As an Amazon Affiliate I earn from qualifying purchases. All opinions are my own.
Getting your white balance just right can be super tricky. It’s especially important when you’re working with food because you want it to look delicious and not be some strange color.
I’m going to share my favorite tips for color correcting your footage in Adobe Premiere Pro so you can get this done well and quickly.
Your best bet for getting good white balance is starting in your camera. Each camera is different, so if you don’t know how to set your white balance it’s worth doing a quick search for how to do that.
A gray card can also be useful, but isn’t 100% necessary if you’re just starting out. A gray card assists you by acting as a reference point for setting your white balance. For now we’re going to focus on adjusting the white balance of footage you already have in your camera.
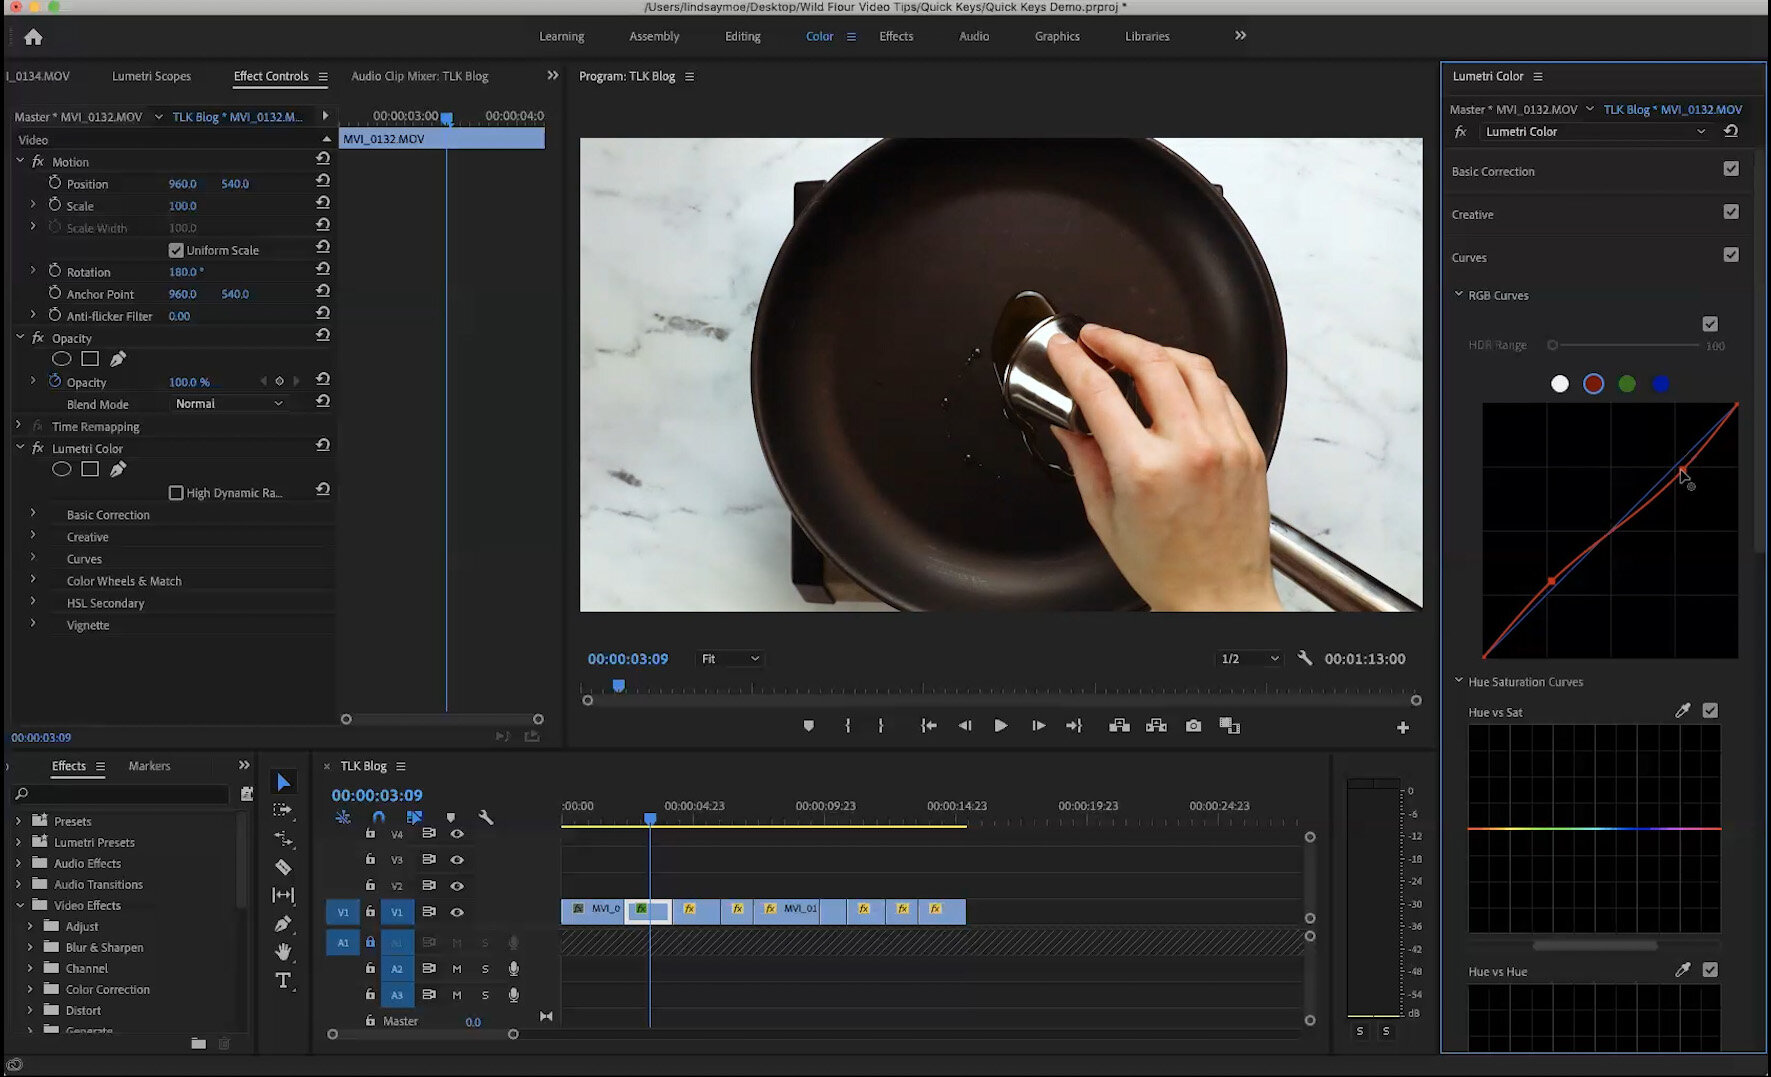
To get started I’m going to click on the clip I want to color correct in my timeline and go up to the Color panel. Over on the right, click on the eyedropper tool, then try to find a neutral grey area in your video and click there.
This will give you a good jumping off point. From there you might want to bring your exposure up to see it a little better, then adjust the temperature and/or tint sliders until it looks good.
You can see when you move the temperature and tint sliders how red or green the footage can get. You’ll be able to train your eye with practice to get it just right.
You can also play around with the contrast, highlights, and shadows if needed. I don’t generally touch them too much or it can get a little harsh looking.
You can also go into the Creative menu and increase the sharpness or saturation if you’d like. Curves get a little more advanced and I don’t recommend messing around with them unless you absolutely have to.
Curves can be useful if something went wrong with your lighting or white balance. I have only used it a couple times when editing my recipes videos, and hopefully you won’t need to use them at all.
Once you get one of your clips color corrected, you can easily apply the correction to any other clips by clicking on the corrected clip, hitting COMMAND + C, then selecting the clips you want to apply it to and hitting OPTION + COMMAND + V to paste the attribute. You can also copy and paste the lumetri color in the effects controls of individual clips.
I hope this helps your color correct your footage! Let me know if you have any questions, or head over to the Facebook Group to start a conversation there.


