Quick Keys for Editing Recipe Videos
Learn how to use quick keys in Adobe Premiere Pro to speed up your video editing workflow, especially when it comes to recipe videos! Watch the video below, or keep reading to learn how.

Don’t forget to grab our PDF of our favorite quick keys for video editing!
I have a project here with some tacos I’m editing. The first quick key I always find myself using is the “L” key.
In the source monitor, if I press “L” it starts shuttling my footage forward. The more times you press “L”, the faster it moves the footage forward.


You can stop the footage by pressing “K”, and “J” works just like “L” but in reverse. If I get close to where I want to be in my footage, I can press the right or left arrow keys to move forward or backwards one frame.
From there, press “I” to mark you’re in point, and “O” to mark your out point.
Down in the timeline, press the up arrow to move the playhead to the beginning of the sequence. Back in the source monitor, you can then press the period key (.) to drop your marked footage into the timeline.
If you only want to drop the video footage in and not the audio, simply lock the audio track before pressing period.
If I need to import more footage, I can click on the bin where I want the footage to go and press COMMAND + I to import more footage.

Back in the timeline, I can press the up and down arrows to jump between clips.
If you want to add a cut in the timeline, you can press “C” to enable the cut tool. You can see the cursor changes to a little razor blade.
If you don’t like where you made a cut, just press COMMAND + Z right after doing it to undo the action.
To return to the regular selection tool simply press “V” and the cursor becomes an arrow again.
One of the tools I use all the time in editing is the track select forward tool. You get to this by pressing “A”, and it will grab the clip you click on as well as all the clips to the right of it and move them around together.
Another useful quick key is “R” which brings up the rate stretch tool. With this tool you can grab the end of a clip and stretch it out to play slower or trim it down to play faster.


This is really useful in editing recipe videos where you may be trying to fit a long recipe into a video under one minute in length.
One quick key you might be familiar with already but can be useful in editing recipe videos in COMMAND + C. With this you can copy a clip, then COMMAND + V to paste it somewhere in your timeline.
If you’d like to copy and paste attributes like color correction or effects, you can COMMAND + C to copy for the original clip, highlight the clips you want to match, and press OPTION + COMMAND + V to just paste the attributes.
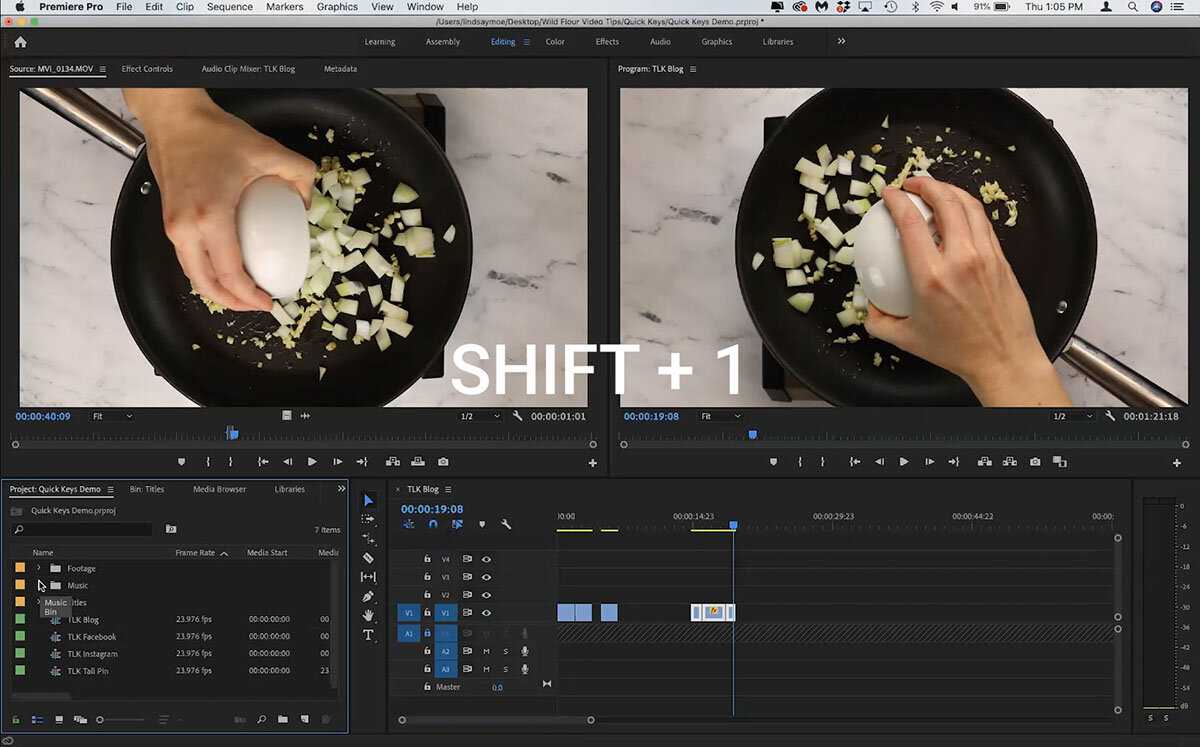
If you’re over in your project window and want to add a transition, instead of looking around for the effects pan in there, you can press SHIFT + 7 to jump to the effects. Once you’re done there, press SHIFT + 1 to jump back to the project window.

If you do a lot of your editing zoomed in on your timeline but want to see your whole timeline from time to time, a quick way to do that is to press the “\” (backslash) key. This brings your entire sequence into view.
“L”, “K”, and “J” work the same way in the timeline as they do in the source monitor, and SPACEBAR will stop and start playing your sequence as well.
One final quick key that I love is for exporting. When you’re ready to export, be sure to set your out point in the timeline, then click on the sequence you want to export in the project panel and press COMMAND + M to export.
I hope this helps speed up your workflow! Let me know if you have any questions, or head over to the Facebook Group to start a conversation there.
